I built this “Trailer Box Roof Cover Cap” because I needed to transport 6 people and their music equipment from the Sunshine Coast to Sydney and back again. It was a bit of a mission, but I got it all done in time.
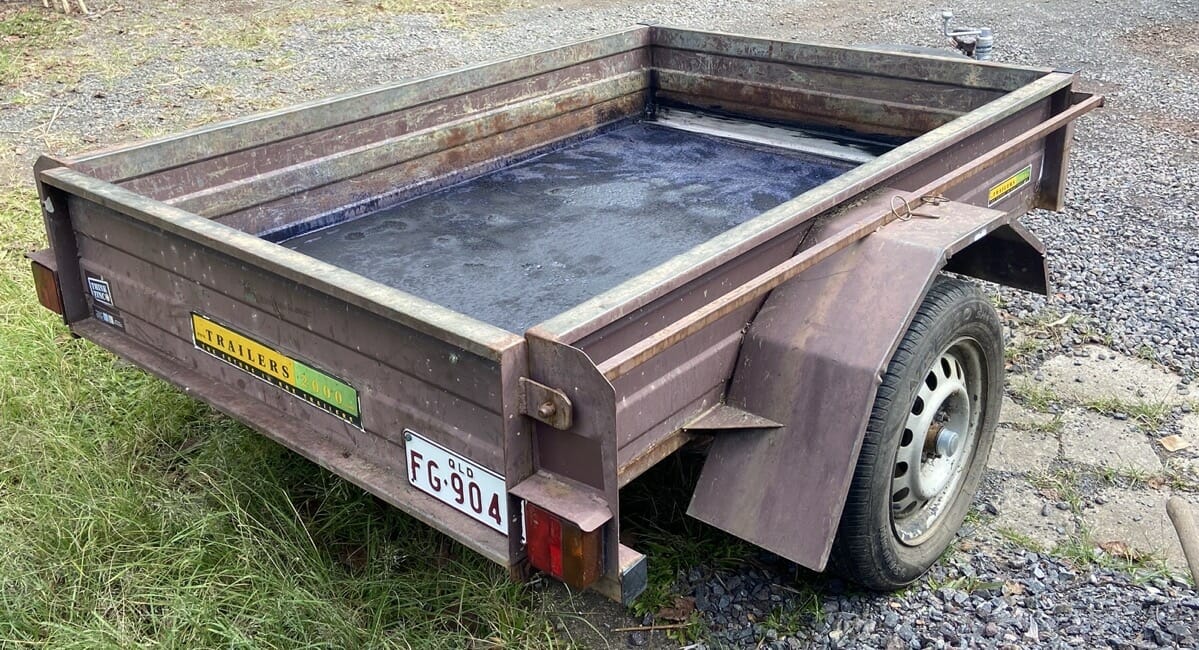
First things first, I serviced the trailer, which included fitting angle iron to the front panel to fill some rust holes, fitted two new trailer bearings and a new jockey wheel, and converted the light plug to a round shape instead of rectangle /square which it already had fitted.
Next I rust proofed the trailer, which work surprisingly well. A good friend (Dennis)advised me to paint over the rust remover as soon as possible. So I painted the base with all in one primer and metal paint protector form ALDI which I had in the shed.

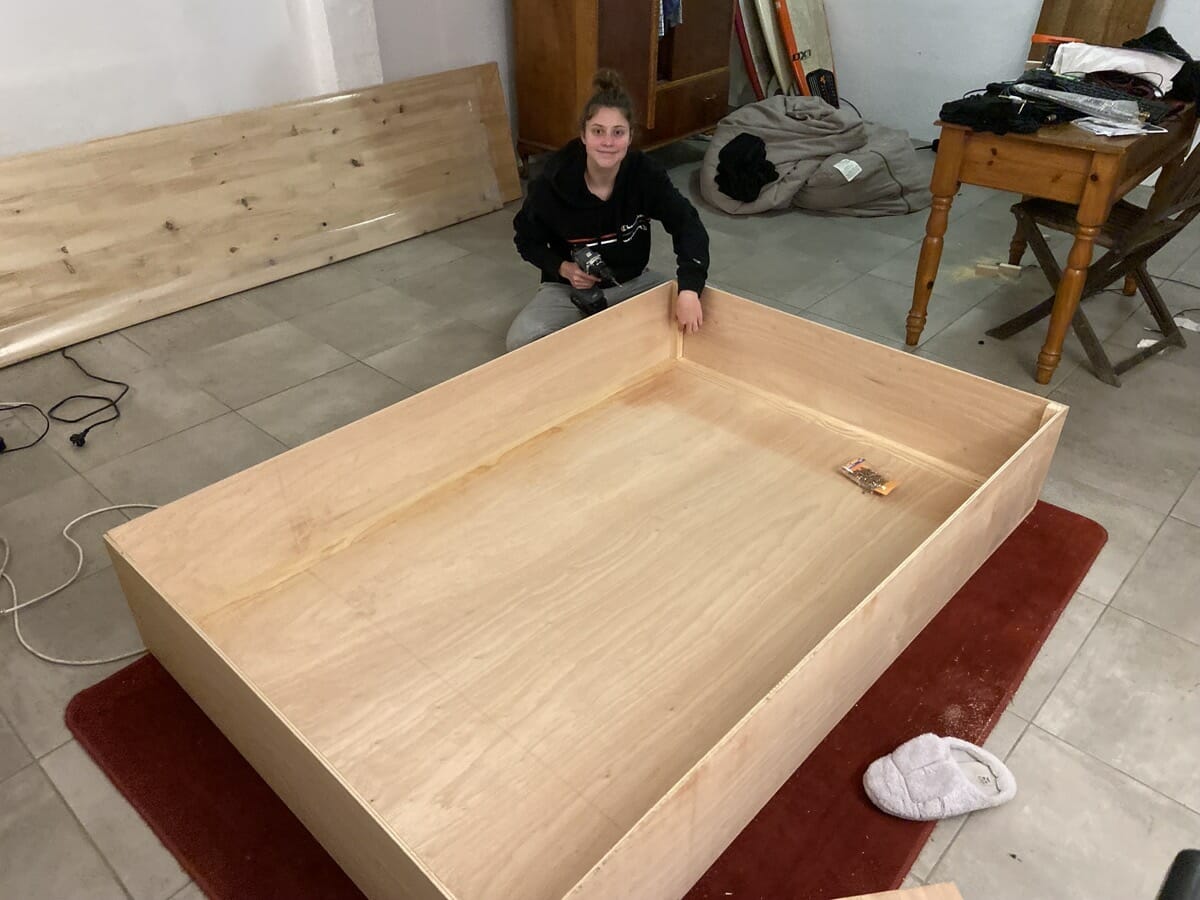
Then I build a box to fit over the trailer, which would keep the music equipment dry. I bought and cut the Marine Ply at Bunnings which worked out very nicely.
Catherine helped me assemble and screw up the trailer box, which fits very snuggly on the trailer.

This is the finish product in Sydney, which we proved was water proof because we drove down in the pouring rain and floods.

I still need to paint the Trailer Box Roof Cover Cap at some stage, and because it’s a very snug fit, I will need to widen the trailer wall very slightly. I plan to do this quite simple with a car jack. They simply need to be pushed about 2mm further apart.
Lessons Learned
- I’d make the Trailer Box a little taller. Probably another 300mm taller
- I’d make the lip fit outside instead of inside the trailer
- I’d include a hatch door / access door for easy access to the contents without needing to remove the trailer box.
